


Anyway, I cropped and transitioned the images to create an effect that gives a motion across the comic. Here are some screenshots below showing how I used the transitions.

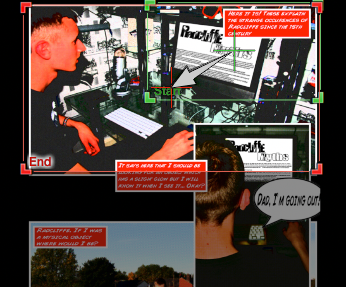 Editing was particularly easy. Having them set out next to each other to be able to easily navigate was also helpful. Here's a screenshot to help paint a picture...
I also used effects such as "Cross dissolve" and "Flash" to transition from one panel to the next and so on.


 The screenshots above show where the 'flash' and 'cross dissolve' transitions are placed to create the transition from one slide to the other.
I also added some thunder effects to get the perfect sound for this particular transition "One year later"


Once I had found which sound effect I wanted to use for the "One year later" transition. I then duplicated it 3 times to make sure the effect matched the rest of them.
I couldn't find a zombie effect anywhere in the Final Cut Pro effects folder, so I went on to the internet and searched for 'Zombie sound effect download" and I eventually found pretty much every single zombie effect I needed to finish my comic.

The long sound effect you can see in the screenshot is different to the others. That particular one says "Kill you" in a scary zombie voice, whilst the over 4 just make zombie groans and noises.

No comments:
Post a Comment